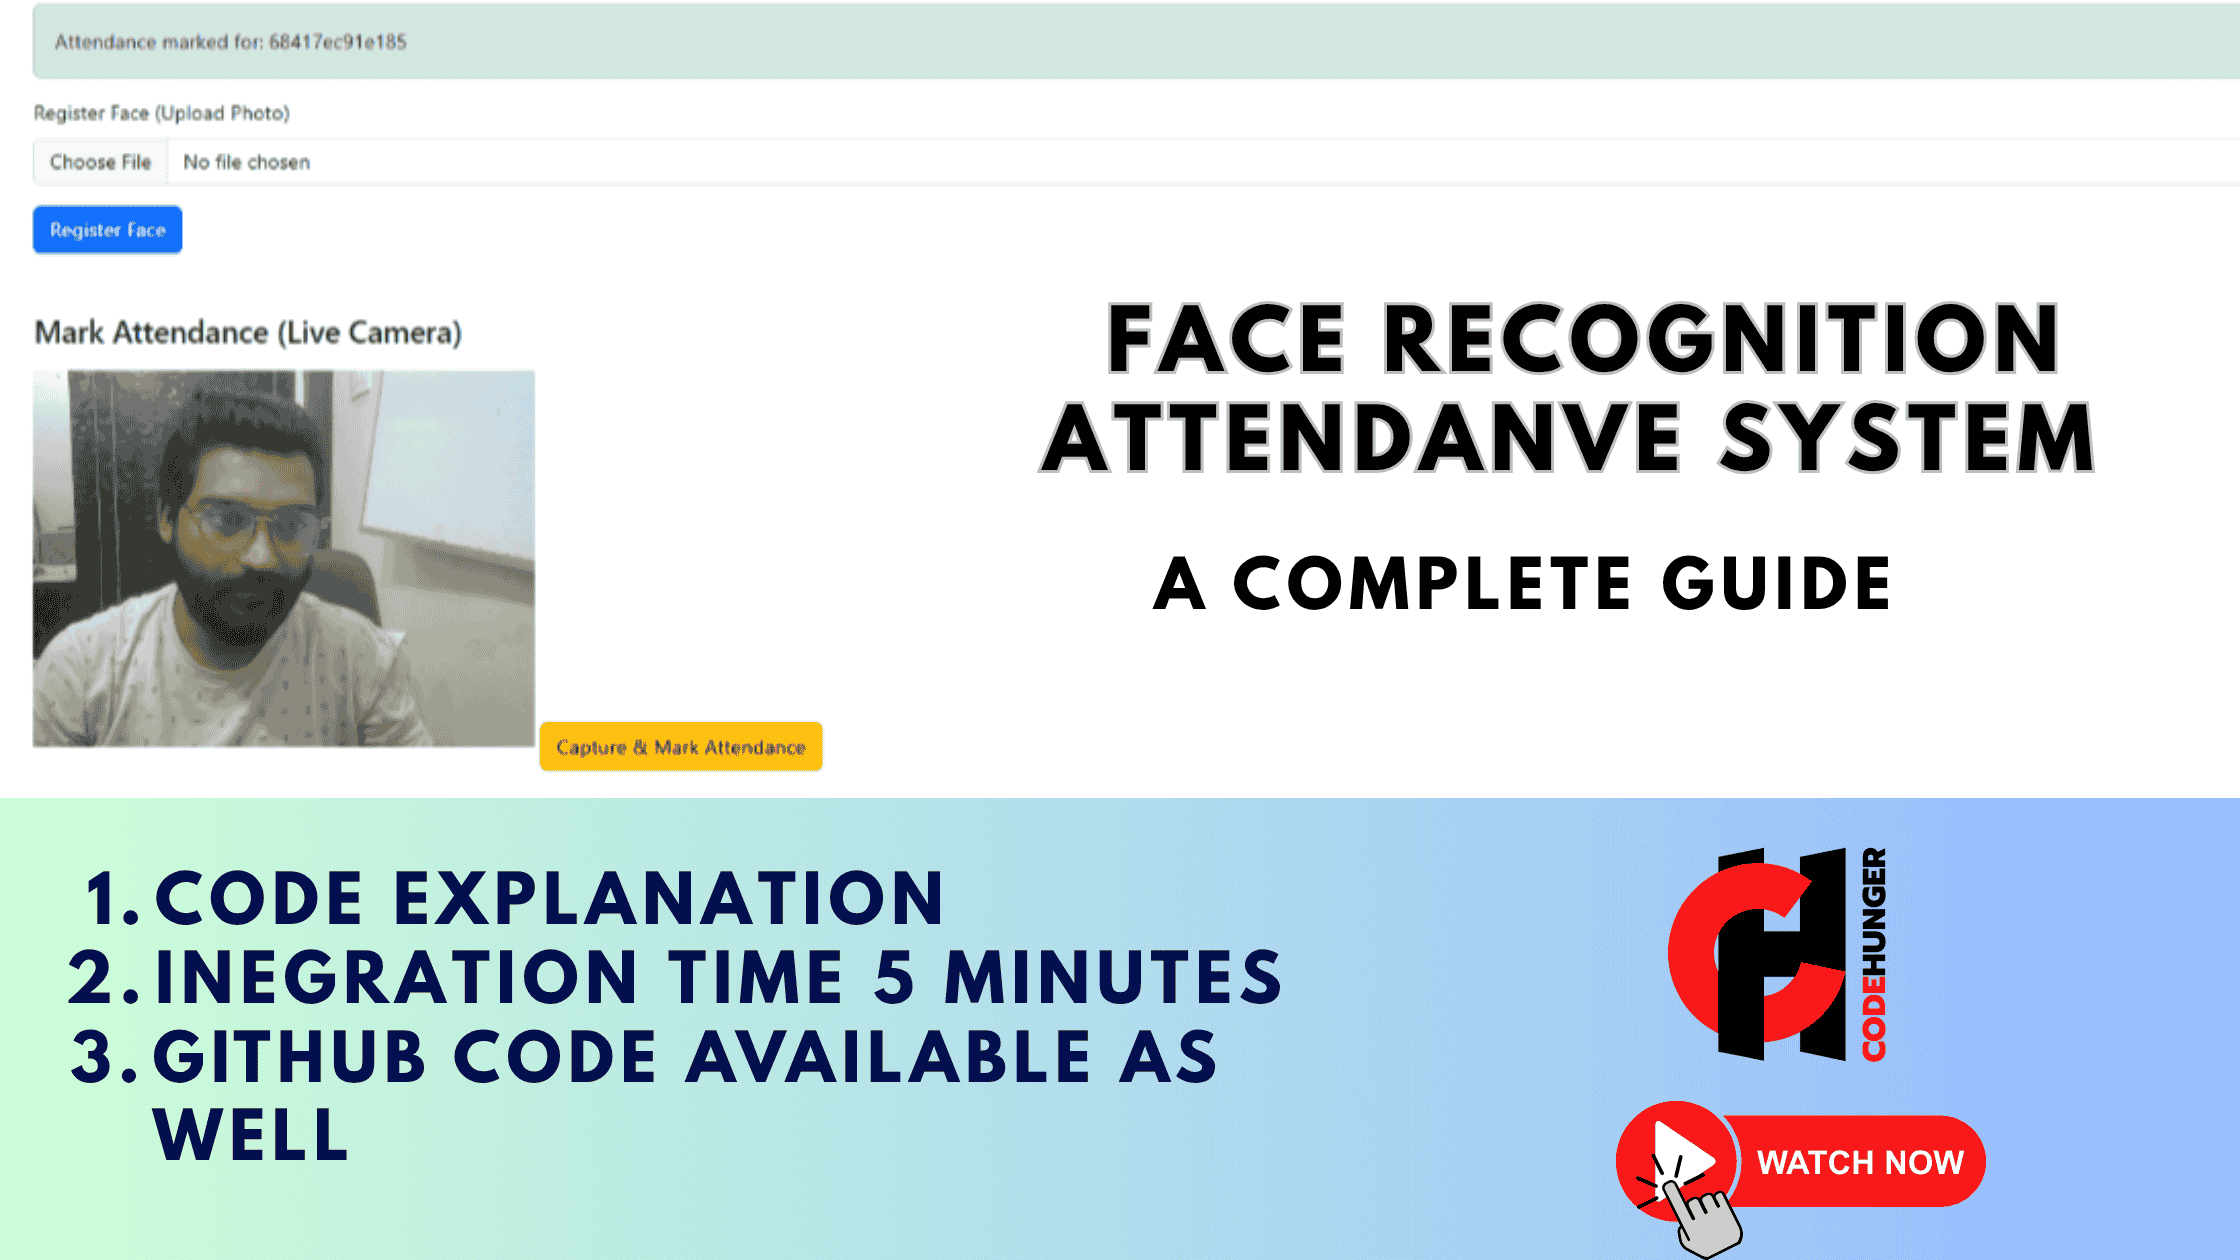
Face recognition is no longer science fiction—it’s a powerful tool already used in real-world applications like attendance tracking, surveillance, and identity verification. In this tutorial, you’ll learn how to build a face recognition attendance system using Laravel and AWS Rekognition , all using the free tier .
✅ No extra hardware required
✅ Free usage with AWS Rekognition’s free tier
✅ Full Laravel-based implementation
✅ Upload, index, and detect faces for attendance
🔗 GitHub Repository:
https://github.com/codehunger-team/build-a-face-recognition-attendance-system-in-laravel-using-aws-rekognition
📦 Prerequisites Before we begin, make sure you have the following:
⚙️ Step 1: Create a Laravel Project Plain Bash C++ C# CSS Diff HTML/XML Java JavaScript Markdown PHP Python Ruby SQL composer create-project laravel/laravel face-attendance
cd face-attendance
📁 Step 2: Install AWS SDK for PHP Plain Bash C++ C# CSS Diff HTML/XML Java JavaScript Markdown PHP Python Ruby SQL composer require aws/aws-sdk-php
🛠️ Step 3: Setup AWS Credentials in .env Plain Bash C++ C# CSS Diff HTML/XML Java JavaScript Markdown PHP Python Ruby SQL AWS_ACCESS_KEY_ID=your_aws_access_key
AWS_SECRET_ACCESS_KEY=your_aws_secret_key
AWS_DEFAULT_REGION=us-east-1
You should also make sure your AWS account has:
nccbnj)📂 Step 4: Create FaceRecognitionController Generate the controller:
Plain Bash C++ C# CSS Diff HTML/XML Java JavaScript Markdown PHP Python Ruby SQL php artisan make:controller FaceRecognitionController
Now paste this code into app/Http/Controllers/FaceRecognitionController.php:
Plain Bash C++ C# CSS Diff HTML/XML Java JavaScript Markdown PHP Python Ruby SQL <?php
namespace App \Http \Controllers ;
use Aws \Rekognition \RekognitionClient ;
use Aws \S3 \S3Client ;
use Illuminate \Http \Request ;
class FaceRecognitionController extends Controller
{
protected $rekognition ;
protected $s3 ;
protected $bucket = 'codehungerawsbucket' ;
protected $collectionId = 'codehunger-data' ;
public function __construct()
{
$credentials = [
'credentials' => [
'key' => env ('AWS_ACCESS_KEY_ID' ),
'secret' => env ('AWS_SECRET_ACCESS_KEY' ),
],
'region' => env ('AWS_DEFAULT_REGION' ),
'version' => 'latest' ,
];
$this ->rekognition = new RekognitionClient ($credentials );
$this ->s3 = new S3Client ($credentials );
}
public function showForm()
{
return view ('attendance.form' );
}
public function upload(Request $request)
{
$request ->validate ([
'photo' => 'required|image|max:2048' ,
]);
$image = $request ->file ('photo' );
$imageName = uniqid () . '.' . $image ->getClientOriginalExtension ();
$imagePath = $image ->storeAs ('temp' , $imageName , 'public' );
$this ->s3->putObject ([
'Bucket' => 'nccbnj' ,
'Key' => $imageName ,
'Body' => file_get_contents ($image ->getRealPath ()),
]);
$result = $this ->rekognition->indexFaces ([
'CollectionId' => $this ->collectionId,
'Image' => [
'S3Object' => [
'Bucket' => 'nccbnj' ,
'Name' => $imageName ,
],
],
'ExternalImageId' => pathinfo ($imageName , PATHINFO_FILENAME),
'DetectionAttributes' => ['DEFAULT' ],
]);
return back ()->with ('success' , 'Image uploaded and indexed.' );
}
public function markAttendance(Request $request)
{
$request ->validate ([
'photo_base64' => 'required|string' ,
]);
$base64 = $request ->photo_base64;
$imageData = base64_decode (preg_replace ('#^data:image/\w+;base64,#i' , '' , $base64 ));
$result = $this ->rekognition->searchFacesByImage ([
'CollectionId' => $this ->collectionId,
'Image' => ['Bytes' => $imageData ],
'MaxFaces' => 1 ,
'FaceMatchThreshold' => 85 ,
]);
if (!empty ($result ['FaceMatches' ])) {
$matchedId = $result ['FaceMatches' ][0 ]['Face' ]['ExternalImageId' ];
return back ()->with ('success' , "Attendance marked for: $matchedId" );
}
return back ()->with ('error' , 'Face not recognized.' );
}
}
Key Features:
🖼️ Step 5: Create Blade View Create a form in resources/views/attendance/form.blade.php:
Plain Bash C++ C# CSS Diff HTML/XML Java JavaScript Markdown PHP Python Ruby SQL <!DOCTYPE html>
<html>
<head>
<title> Face Recognition Attendance</title>
<link href="https://cdn.jsdelivr.net/npm/bootstrap@5.3.3/dist/css/bootstrap.min.css" rel="stylesheet">
<style>
#camera-container video {
width : 100% ;
max-width: 400px ;
}
#captured-image {
margin-top : 15px ;
display: none;
}
</style>
</head>
<body class="p-5">
<h2 class="mb-4"> Face Recognition Attendance System</h2>
@if(session('success'))
<div class="alert alert-success"> {{ session('success') }}</div>
@endif
@if(session('error'))
<div class="alert alert-danger"> {{ session('error') }}</div>
@endif
<form action="{{ route('face.upload') }}" method="POST" enctype="multipart/form-data" class="mb-5">
@csrf
<div class="mb-3">
<label class="form-label">Register Face (Upload Photo)</label>
<input type="file" name="photo" class="form-control" required>
</div>
<button class="btn btn-primary">Register Face</button>
</form>
<h4 class="mb-3">Mark Attendance (Live Camera)</h4>
<div id="camera-container">
<video id="video" autoplay></video>
<button type="button" class="btn btn-warning mt-2" onclick="takeSnapshot()"> Capture & Mark Attendance</button>
<canvas id="canvas" style="display:none;"></canvas>
<img id="captured-image" class="img-thumbnail"/>
</div>
<form id="attendance-form" action="{{ route('face.mark') }}" method="POST">
@csrf
<input type="hidden" name="photo_base64" id="photo_base64">
</form>
<script>
const video = document.getElementById('video');
const canvas = document.getElementById('canvas' );
const photoInput = document.getElementById ('photo_base64' );
const capturedImage = document .getElementById ('captured-image');
navigator.mediaDevices .getUserMedia ({ video : true })
.then(stream => { video.srcObject = stream })
.catch (err => console.error ('Camera error:' , err));
function takeSnapshot () {
const context = canvas.getContext ('2d');
canvas.width = video.videoWidth;
canvas.height = video.videoHeight ;
context.drawImage (video, 0 , 0 , canvas.width , canvas.height );
const imageData = canvas.toDataURL ('image/png' );
photoInput.value = imageData;
capturedImage.src = imageData;
capturedImage.style .display = 'block' ;
document .getElementById ('attendance-form' ).submit ();
}
</script>
</body>
</html>
🌐 Step 6: Define Routes In routes/web.php:
Plain Bash C++ C# CSS Diff HTML/XML Java JavaScript Markdown PHP Python Ruby SQL <?php
use Illuminate \Support \Facades \Route ;
use App \Http \Controllers \FaceRecognitionController ;
Route ::get ('/attendance' , [FaceRecognitionController ::class , 'showForm' ]);
Route ::post ('/upload' , [FaceRecognitionController ::class , 'upload' ])->name ('face.upload' );
Route ::post ('/mark' , [FaceRecognitionController ::class , 'markAttendance' ])->name ('face.mark' );
🧪 Step 7: Test It Out /face-form
🛡️ Notes createCollection manually if it's not created already📎 GitHub Repo View the full working code here:
👉 GitHub - codehunger-team/build-a-face-recognition-attendance-system-in-laravel-using-aws-rekognition
🧠 Conclusion With Laravel and AWS Rekognition, you can easily implement a secure, modern, and scalable face recognition attendance system — without using third-party packages or costly infrastructure.
This solution is perfect for:
📢 Need Help or Want Custom Integration? This blog is powered by CodeHunger Pvt Ltd VIDEO


