


Crud using laravel Filament
Sick of wasting hours crafting admin panels from scratch for your Laravel projects? Stop here and check out Laravel Filament - the refined TALL stack (Tailwind, Alpine.js, Laravel, and Livewire) admin panel solution that has changed the way developers build stunning, working backends.
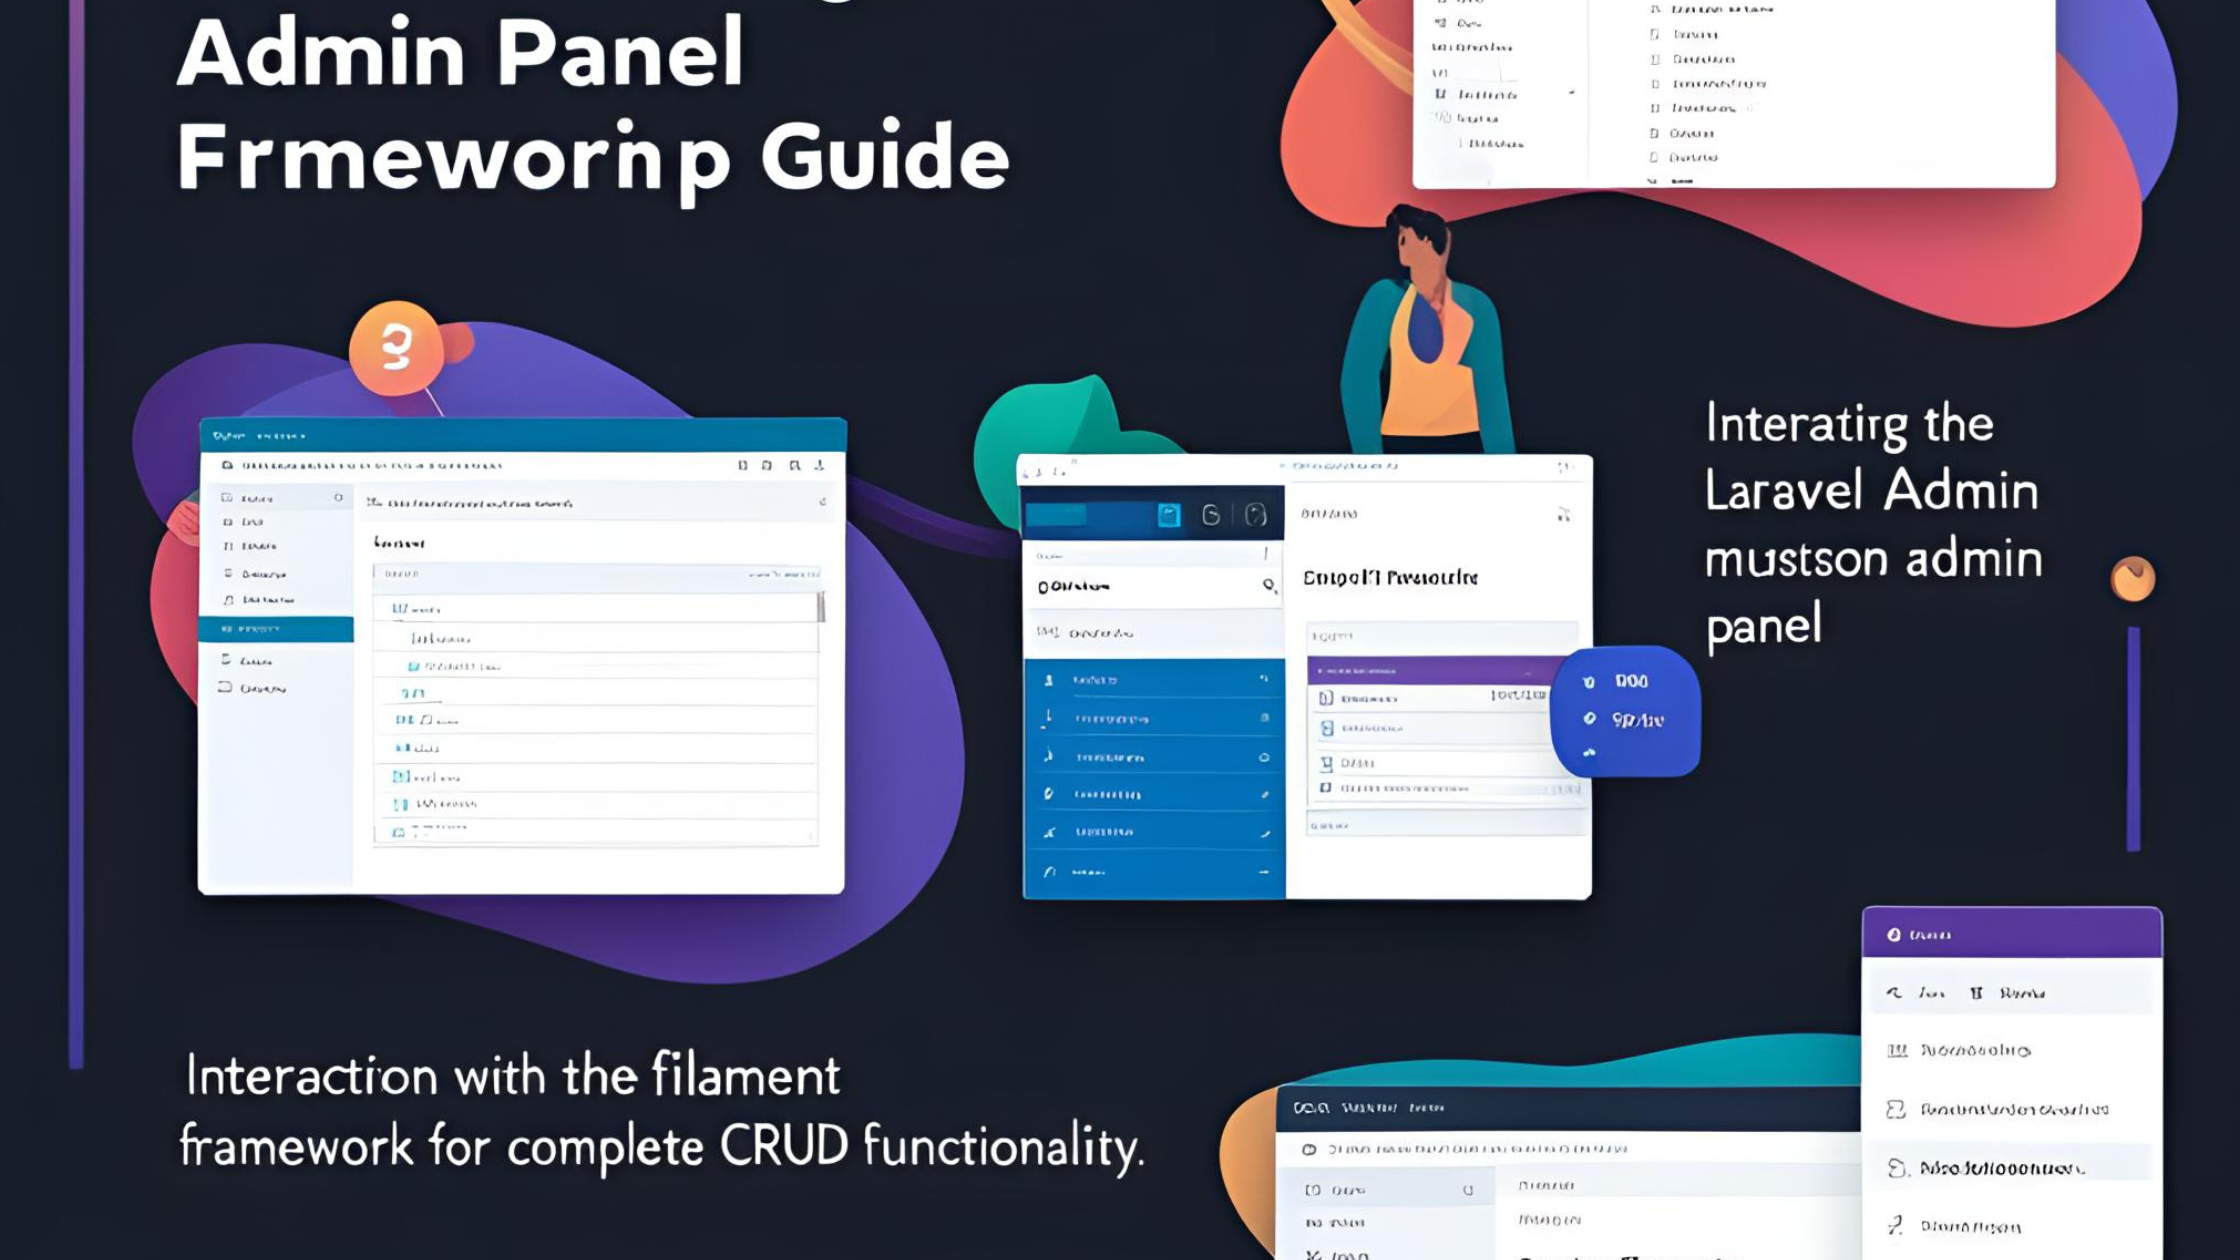
In this exhaustive tutorial, we will discuss how to achieve CRUD operations with Laravel Filament, along with examples and best practices. From users to products, or whatever resources you are handling in your application, Filament makes it smooth and enjoyable.
What is Laravel Filament?
The larger drot is a collection of equipment for the production of beautiful beautiful applications with long stack. In the core it offers a strong framework for administrator panel that simplifies the dashboard, the form, the table and more. Since the introduction, the filament boiler has become a two-to-two solution for developers to create an administrator interface without the problem of writing the code.
With the larger 10 filament support, the frames have become even more powerful, offering increased functions and better performance.
Getting Started with Filament CRUD
Before diving into CRUD examples, let's set up a basic Laravel Filament project. We'll need:
- A fresh Laravel installation
- PHP 8.0+ and Composer
- Node.js and NPM for asset compilation
Installation Process
- First, create a new Laravel project:
- Next, install the Filament package :
- Run the Filament installation command:
This sets up the basic Filament structure, including authentication, basic layouts, and essential components.
Creating Your First Filament CRUD Example
Let's create a simple product management system to demonstrate CRUD Filament capabilities. First, we'll need a model and migration:
Update the migration file to include some basic fields:
Run the migration:
Now, let's create a Filament resource for our Product model:
This command generates several files:
Let's modify the Product Resource class to define our form and table:
That's it! With just these few steps, we've created a complete CRUD interface for managing products. Navigate to /admin/products in your browser to see the beautiful interface Filament has generated.
Advanced CRUD Operations with Laravel Filament Example
Now that we understand the basics, let's explore some more advanced features of Filament for CRUD operations.
Adding Relationships
Filament handles relationships elegantly. Let's add a Category model and relate it to our products:
Update the migration:
Modify the Product model:
Update the ProductResource form to include the relationship:
This not only allows selecting a category but also provides an option to create a new category on the fly!
File Uploads
Let's add image uploads to our products:
Custom Actions
Filament allows you to add custom actions to your resources. For example, let's add a "Duplicate" action:
Implementing User Management with Filament
One of the most common requirements for admin panels is filament user management. Let's implement a comprehensive solution:
First, create a UserResource:
Modify the UserResource class:
Implementing Roles and Permissions with Filament
For more granular access control, we can implement filament roles and permissions. A popular approach is to use the Spatie Laravel Permission package:
After publishing and running the migrations:
This allows assigning roles to users directly from the admin panel.
Finding Laravel Filament Resources on GitHub
The CRUD using Laravel Filament GitHub community is vibrant and offers numerous examples and plugins. Here are some valuable repositories to explore:
- The official Filament repository: filamentphp/filament
- Filament Plugins directory: filamentphp/plugins
- Community-contributed plugins: filamentphp/awesome-filament
These repositories offer excellent examples and extensions for your projects.
Integrating with Other Technologies
CRUD using Laravel Filament Java?
While Filament is a PHP framework and doesn't directly integrate with Java, you might be wondering about potential integrations between Laravel applications and Java backends. For such cases, you could:
- Create API endpoints in your Laravel application
- Use Filament to manage the Laravel side
- Communicate with Java services via REST or GraphQL
This architecture allows you to leverage both technologies' strengths while maintaining a seamless admin experience with Filament.
Upgrading to Laravel 10 Filament
If you're working with an older Laravel application and want to upgrade to use Laravel 10 with Filament, follow these steps:
- Update your Laravel application to version 10
- Update dependencies in composer.json
- Install the latest Filament version
- Run migrations and update configurations
The Filament documentation provides detailed upgrade guides for each version.
Performance Optimization Tips
To ensure your Filament admin panel runs smoothly:
- Use eager loading to prevent N+1 query issues
- Implement caching where appropriate
- Use pagination for large datasets
- Consider debouncing for search operations
- Optimize your database queries
Security Best Practices
Securing your admin panel is crucial:
- Implement strong authentication
- Use granular permissions with the Spatie package
- Rate-limit admin access attempts
- Enable two-factor authentication for admin users
- Regularly audit access logs
Conclusion -- Final Part
Raw filament operations in the greatest represent an important step in rapid application development. By taking advantage of the elegant interfaces and powerful features of the incandescent wire, you can create refined administrator panels in a part of the time that will take them to make them from scratches.
From basic CRUD operations to advanced filamentroles and permits and user control, optimizing this powerful tool set for all size projects. Whether you are building a small corporate application or a company level system, the flexibility of the incandescent wire makes it an excellent alternative.