


Set Up a Self-Hosted Support Ticket System on a Budget
Customer support can make or break a business. Whether you're running a small eCommerce store, a SaaS startup, or a digital agency, offering timely and reliable support is crucial for customer satisfaction and retention. But what if you're on a tight budget? Is it still possible to provide professional-grade support?
Absolutely. In this guide, we’ll walk you through how to set up a self-hosted support ticket system without breaking the bank.
This isn't just another vague list of tools. You’ll get actionable steps, real-world examples, and budget-friendly tips to build your own robust support system—starting today.
Why Choose a Self-Hosted Ticket System?
Before jumping into the how-to, let’s talk about why self-hosting might be the right move for you.
Advantages of Self-Hosting
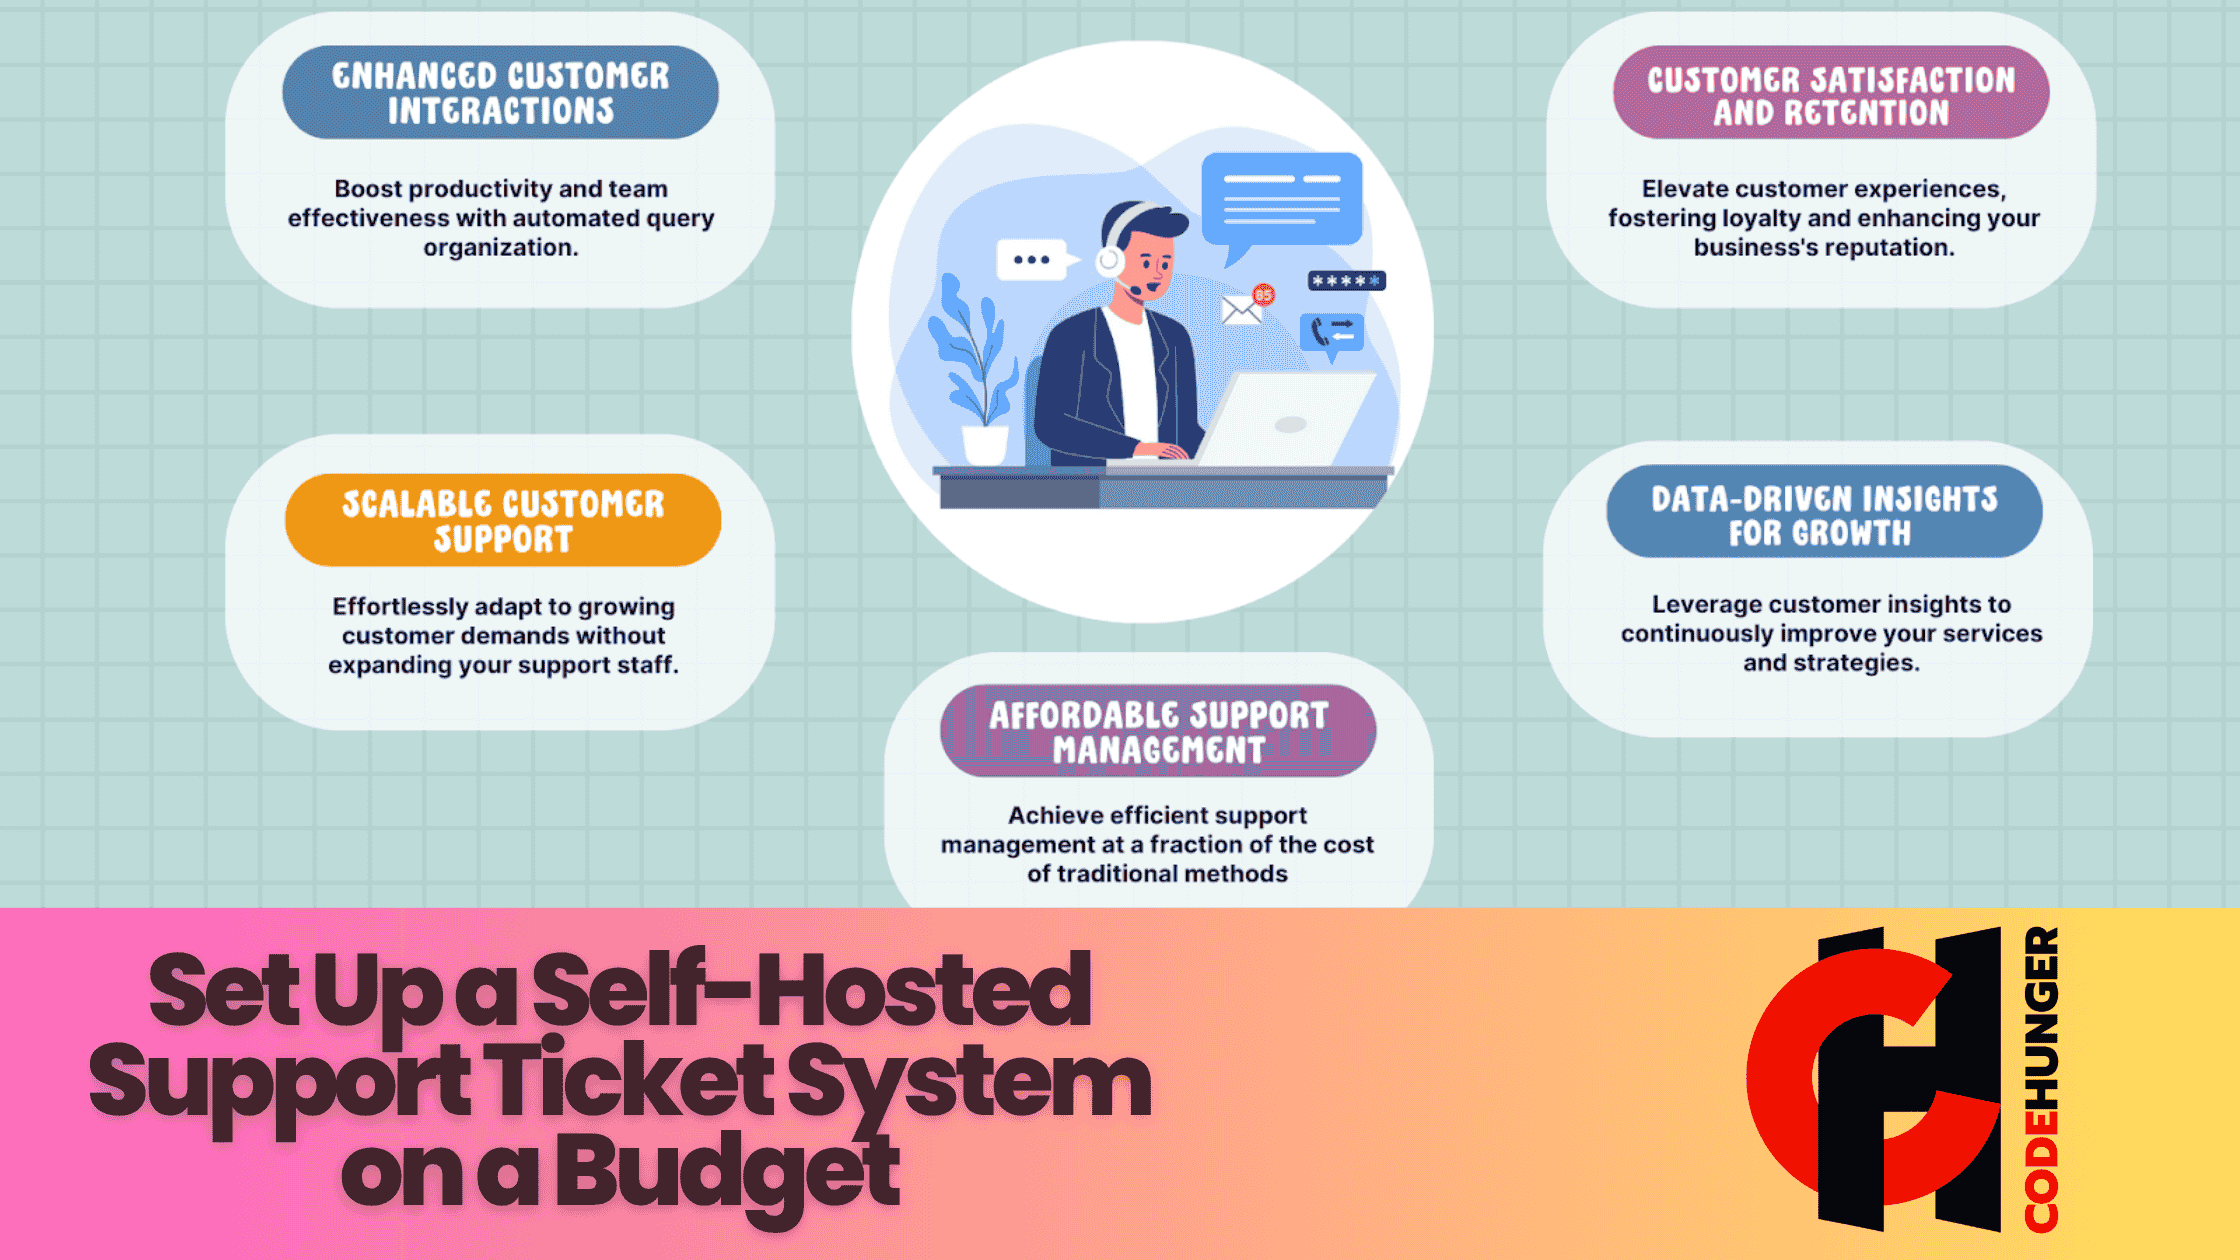
- Cost-effective in the long run (no recurring SaaS fees)
- Full data control and security
- Customizable to fit your exact workflow
- Scalable as your business grows
Potential Trade-offs
- Initial setup can be technical
- Server maintenance is your responsibility
- Requires basic knowledge of hosting environments
Still with us? Great. Let’s build something awesome.
Step 1: Define Your Support Needs
Before installing anything, you need to understand what your support team (even if it’s just you!) actually needs.
Key Questions to Ask:
- How many tickets do you expect daily/weekly?
- Will multiple agents use the system?
- Do you need features like email piping, ticket priorities, canned responses, or SLAs?
Knowing your requirements helps you avoid overspending or choosing bloated tools you don’t need.
Step 2: Choose the Right Self-Hosted Ticket Software
There are many open-source or affordable paid ticketing solutions that you can self-host. Let’s look at a few of the best budget-friendly options:
1. Easy Ticket – Support Ticket System
- ser-friendly interface
- Email piping, ticket filters, and custom forms
- Great community support
Best for: Small to medium-sized teams needing core support features.
Link to Software : https://easy-ticket.codehunger.in/
Dcoumentation : https://code-hunger.gitbook.io/easy-ticket

2. Faveo Helpdesk (Free & Premium)
- Modular system with plugins
- SLA management and knowledge base
- Clean UI with admin tools
Best for: Teams wanting a scalable, modular system.

3. UVdesk (Open Source)
- Modern UI with automation tools
- Integrates with eCommerce platforms
- Ticket tagging, workflows, and customer profiles
Best for: eCommerce businesses on a budget.

Step 3: Set Up Your Hosting Environment
To host a ticket system, you need:
- A domain name (if you want a custom URL)
- Web hosting (shared, VPS, or dedicated depending on traffic)
- SSL certificate (for secure communication)
Budget-Friendly Hosting Options:
- Shared Hosting: Namecheap, Hostinger, or Bluehost (under $5/mo)
- VPS Hosting: DigitalOcean or Linode (starting at $5/mo with more control)
Typical Requirements:
- PHP 7.x or 8.x
- MySQL or MariaDB
- Apache or NGINX server
Most hosting providers support these by default. Once your hosting is live, you can use cPanel or FTP to upload your ticket system files.
Step 4: Install and Configure the Ticketing System
Let's walk through a basic osTicket installation, one of the most popular open-source options.
Installing osTicket in 6 Steps:
- Download osTicket from osticket.com
- Upload files to your server’s root directory using FTP or cPanel
- Create a MySQL database for osTicket
- Run the installer by navigating to yourdomain.com/upload/
- Follow the on-screen instructions
- Secure your admin panel and remove the /setup/ directory post-installation
Once installed, customize your settings:
- Add support agents
- Set departments (Sales, Tech Support, etc.)
- Configure email fetching/sending
- Create canned responses and help topics

Step 5: Add Email Integration
Email piping is what turns a regular inbox into a fully functioning support system.
Two Common Methods:
- POP/IMAP: The system fetches emails at intervals.
- Email Piping (Recommended): Directly pipes incoming emails to your helpdesk.
For example, support emails sent to support@yourdomain.com can auto-generate a ticket and assign it to an agent.
Most systems like osTicket and UVdesk offer step-by-step email integration guides in their documentation.

Step 6: Customize Your Helpdesk for Better UX
A clunky ticket system frustrates users and agents alike. Here’s how to improve it:
Must-Have Customizations:
- Branded design (logo, color scheme)
- Clear user portal navigation
- Pre-filled forms for quicker ticket creation
- Automated notifications for updates and closures
Bonus Features to Consider:
- Knowledge base
- Live chat integration (like Tawk.to or LiveHelperChat)
- SLA notifications and escalations
- Analytics dashboard
Even basic visual polish (like matching your site’s colors) can make your support system feel more trustworthy and professional.
Step 7: Test, Launch, and Improve
Now that your helpdesk is live, test it like a real customer.
Test Scenarios:
- Submit a ticket via email and web form
- Test agent assignments and responses
- Check email notifications
- Review the mobile experience
Then, gather feedback from your first few users and agents. Look for patterns in slow response times, usability issues, or ticket overload.
Optimize Over Time:
- Add automation rules to save time
- Expand your FAQ or knowledge base
- Use analytics to spot support bottlenecks
- Enable feedback ratings on resolved tickets

Conclusion
Setting up a self-hosted support ticket system on a budget isn’t just doable—it can be strategic.
You get total control, lower costs, and a customizable setup tailored to your team’s workflow.
The key is to start lean: pick the right software, set it up properly, and evolve as your needs grow.
Need help choosing the right helpdesk platform or customizing your install? Drop your questions in the comments—we’re here to help you grow smarter.