


Integrate PayPal Payment Gateway in Laravel – Full Step-by-Step Guide
Integrating a payment gateway is a critical step for any e-commerce or service-based website. PayPal is one of the most popular and widely trusted gateways globally. In this tutorial, we’ll walk you through the process of integrating the PayPal payment gateway in a Laravel application using the latest methods.
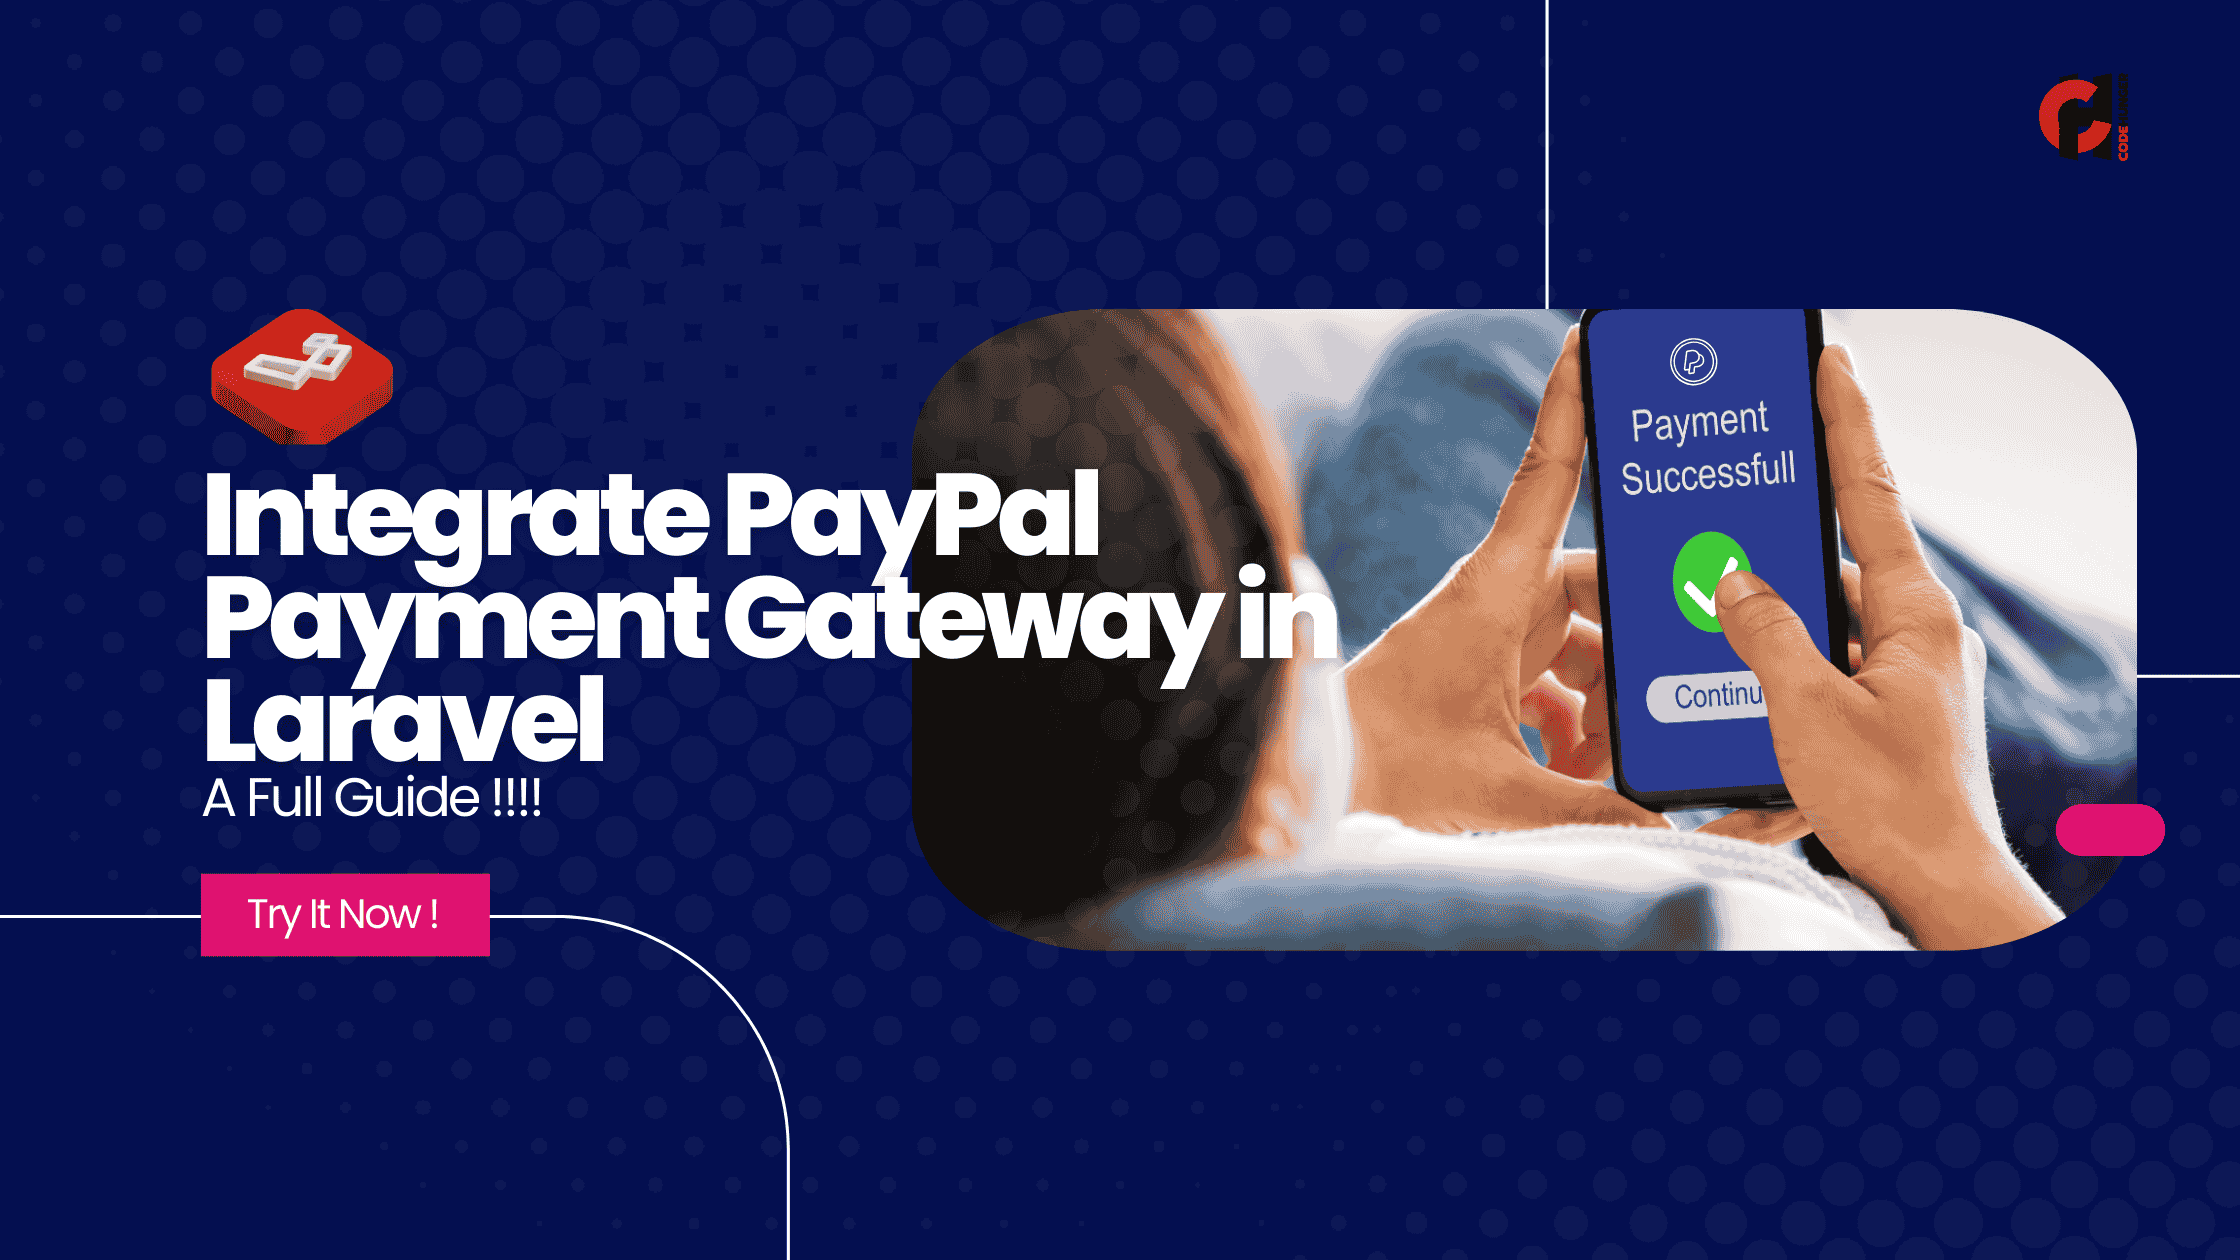
By the end of this guide, you'll have a working PayPal checkout integrated into your Laravel app.
Prerequisites
Before we start, make sure you have the following:
- Laravel (v8 or higher recommended)
- Composer
- A PayPal Developer Account
- Basic knowledge of Laravel (routes, controllers, views)
- PHP 7.4 or higher
Step 1: Set Up PayPal Developer Account
- Go to PayPal Developer and log in.
- Navigate to Dashboard > My Apps & Credentials.
- Under Sandbox, click “Create App”.
- Name your app and link it to your sandbox business account.
- After creating, you’ll get Client ID and Secret.
You’ll use these credentials for testing.
Step 2: Install PayPal SDK Package
We’ll use paypal/rest-api-sdk-php or an abstraction like srmklive/paypal for Laravel.
Install the package via composer:
Then publish the config:
Step 3: Configure PayPal Credentials
Edit your .env file and add:
Then update the config/paypal.php file if needed, or ensure it reads from the .env file.
Step 4: Create Routes
Add the following routes to routes/web.php:
Step 5: Create the Controller
Generate a controller:
Add the following code to PayPalController.php:
Step 6: Test the Integration
- Visit
/paypal/checkout. - You'll be redirected to the PayPal sandbox.
- Log in with a sandbox buyer account.
- Approve the payment.
- You’ll be redirected to the success or cancel URL.
Optional: Add Frontend Button
In your blade file (e.g., welcome.blade.php):
Going Live
Once you're ready to go live:
- Switch
PAYPAL_MODE=live - Replace
PAYPAL_SANDBOX_CLIENT_IDandSECRETwith your Live credentials - Update URLs accordingly if your live site has different routes/domains
Troubleshooting
- 401 Unauthorized: Check credentials.
- Empty redirect URL: Make sure your return/cancel URLs are publicly accessible.
- Currency not supported: Use USD or check supported currencies for your account.
Conclusion
Integrating PayPal with Laravel is quite seamless with the help of packages like srmklive/paypal. Whether you're building a product marketplace, SaaS app, or donation platform, this setup will get your payment process running smoothly.
If you want to support subscriptions, invoicing, or advanced analytics, consider using PayPal’s other API endpoints.